Right lets get going..................
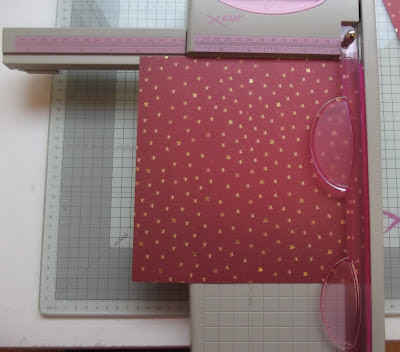
Fold from corner to corner
Make a mark with a pencil at 7/8” away from the fold of the Triangle on both the right and left side . Now score from mark to mark.. In other words the score line will run alongside the fold of the paper . (See the black line on the photo below).
Now make a mark on the fold at 3 ¾ and 7 5/8. Score these marks downwards
Open up
your piece of paper and it should look like this picture below
Fold in the
left and right sides.
Flip the paper over and make the central line a
mountain fold and the two scores either side valley folds.
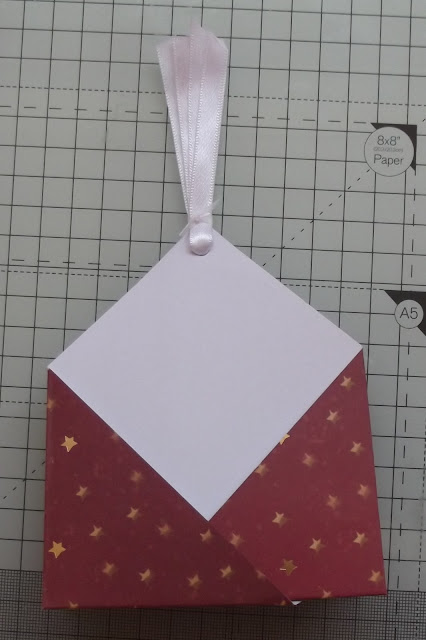
Bring the two top pieces together and you will have your two pockets.
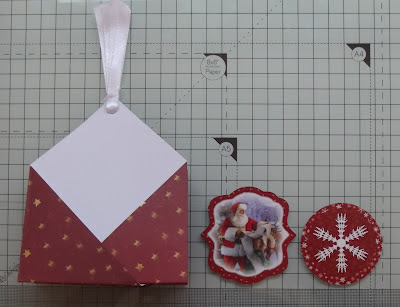
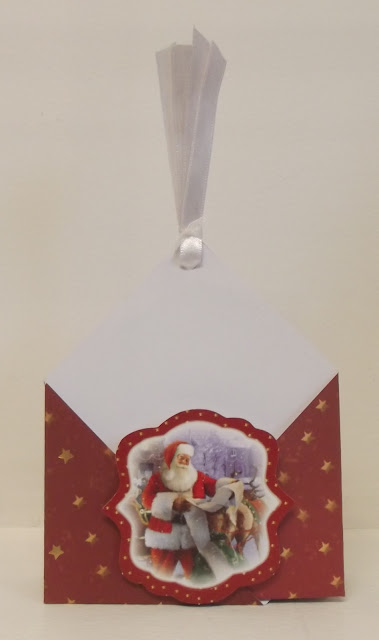
Punch a hole in the top of both trianglesPop a ribbon through the holes to hold them together. I tie them together with a smaller ribbon. Then put a 3D foam where the pockets meet and put an embellishment on top on each foam dot (one for the front and one for the back)
This makes gift card holder or just pop a packet of sweets in one pocket and you can make a mini card to fit in the other pocket.
Happy Crafting Everyone.


What a fabulous project and great Tutorial, I will definitely have to try this one! I love the vintage santa image you have used! xx
ReplyDeleteGreat tutorial - thanks for sharing
ReplyDeleteKate
xx
This is great , wish i had seen it earlier.
ReplyDeleteonly today someone was asking for gift card holder ideas
x
Fabulous idea - thanks for sharing
ReplyDeleteThank you so much for sharing the tutorial, fabulous project x
ReplyDeleteNeat idea Cliona !!
ReplyDeletehugs Diane xx
Great idea and a fab tutorial. TFS
ReplyDeleteHugs
Linda xxx
Great tutorial..I'd definitely have to try this...when i give touch to Gift Card envelopes..thanks you share it.
ReplyDeleteCliona,could you post details of a demo you done recently in Newbridge on how to decorate candles using tissue paper and greaseproof paper please and thanks. I tried to recall the steps but it didn't work.
ReplyDelete