


Whats Required:
Stamps, Calender, Dye based ink and either a sponge or a Tim Holtz Blender. 2 A6 Cards.


Take one of the A6 Cards and your inks, stamps and sponge/blender.
I have used the flower stamp just below the card and over the edge and then stamped each next one slightly over lapping the last using the same method of keeping the bottom of the stamp slightly below the card.


Now stamp out the butterfly on card- twice on White and once on Purple, cut these out.

Once you have stamped and cut out the butterflies turn them over and using a larger stamp (pattern doesn't really matter). You are going to join all these butterflies together and you don't want any white space showing under the wings.

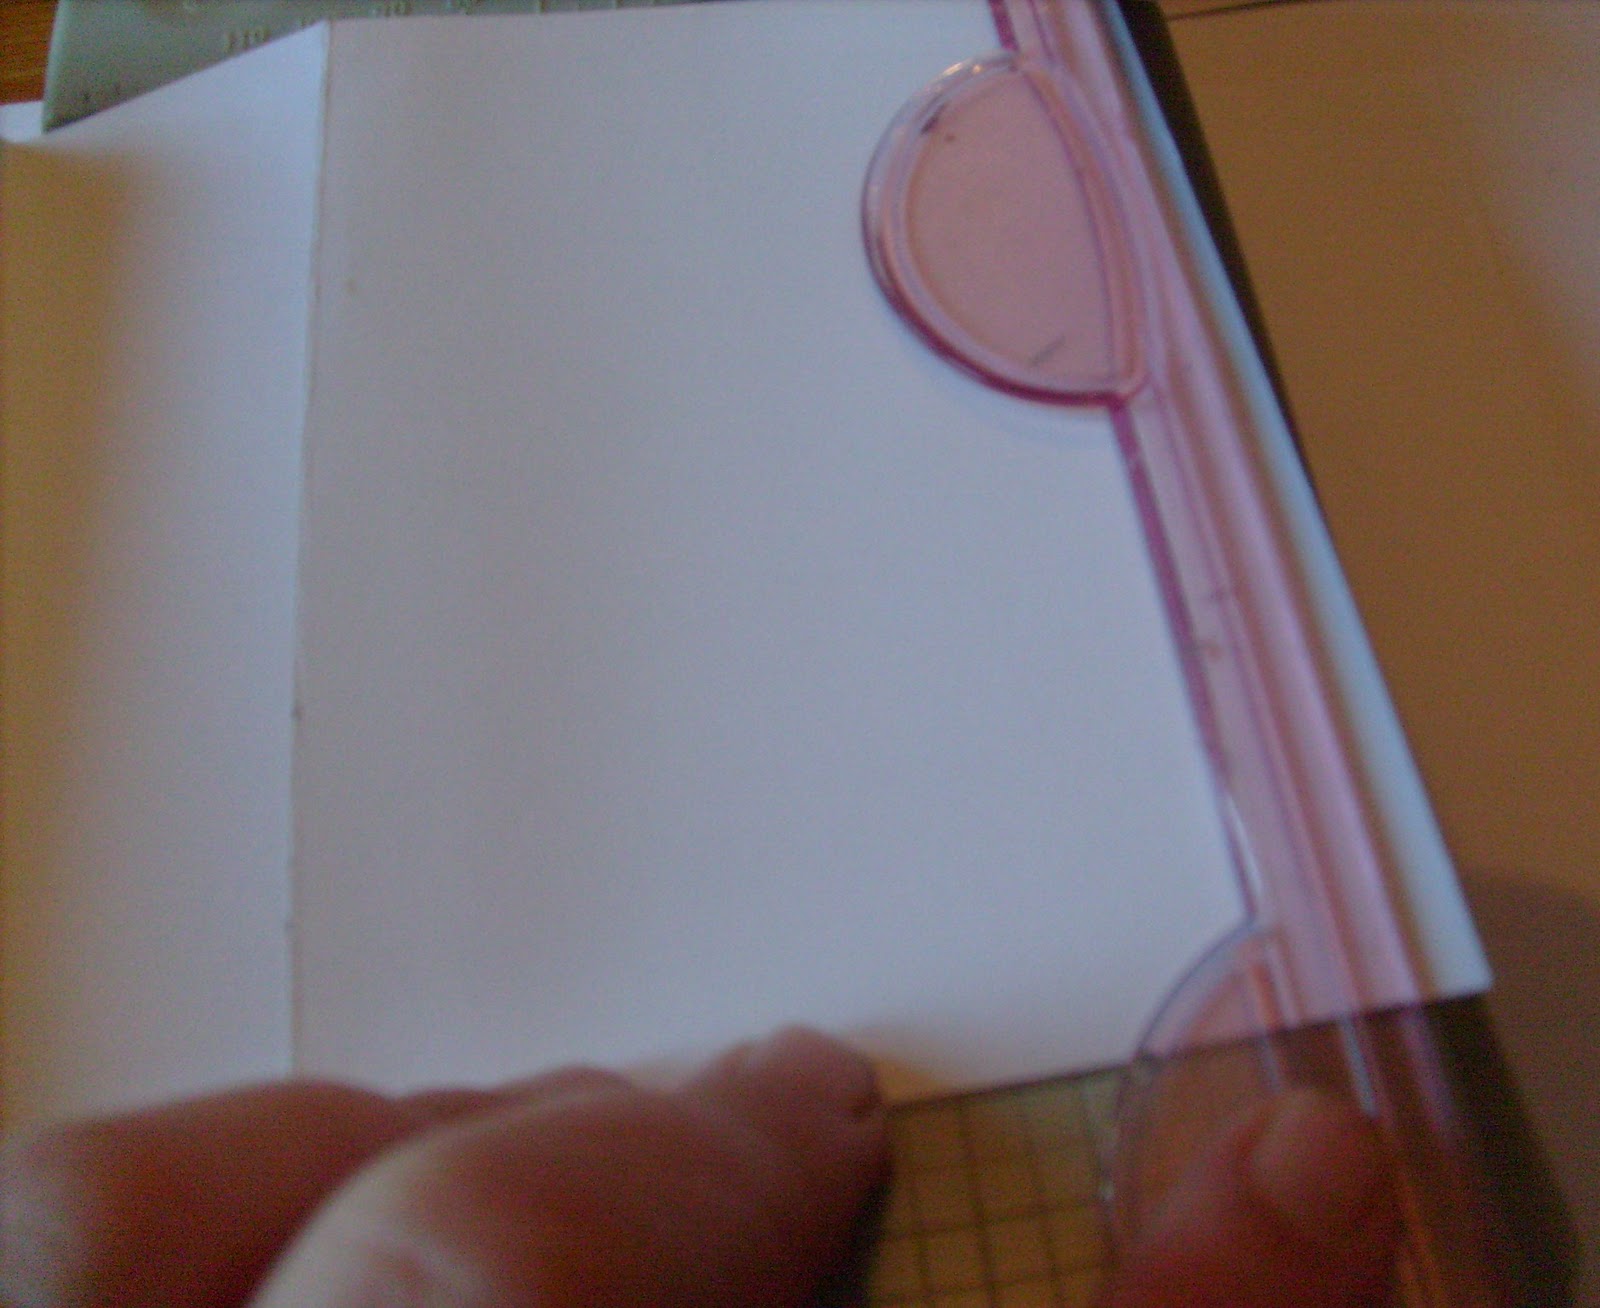
Now take your second A6 card, this will be your base.
Open the card out and on one side turn back a small tab inwards about 1cm or 1/4 inch in depth, this is your tab.

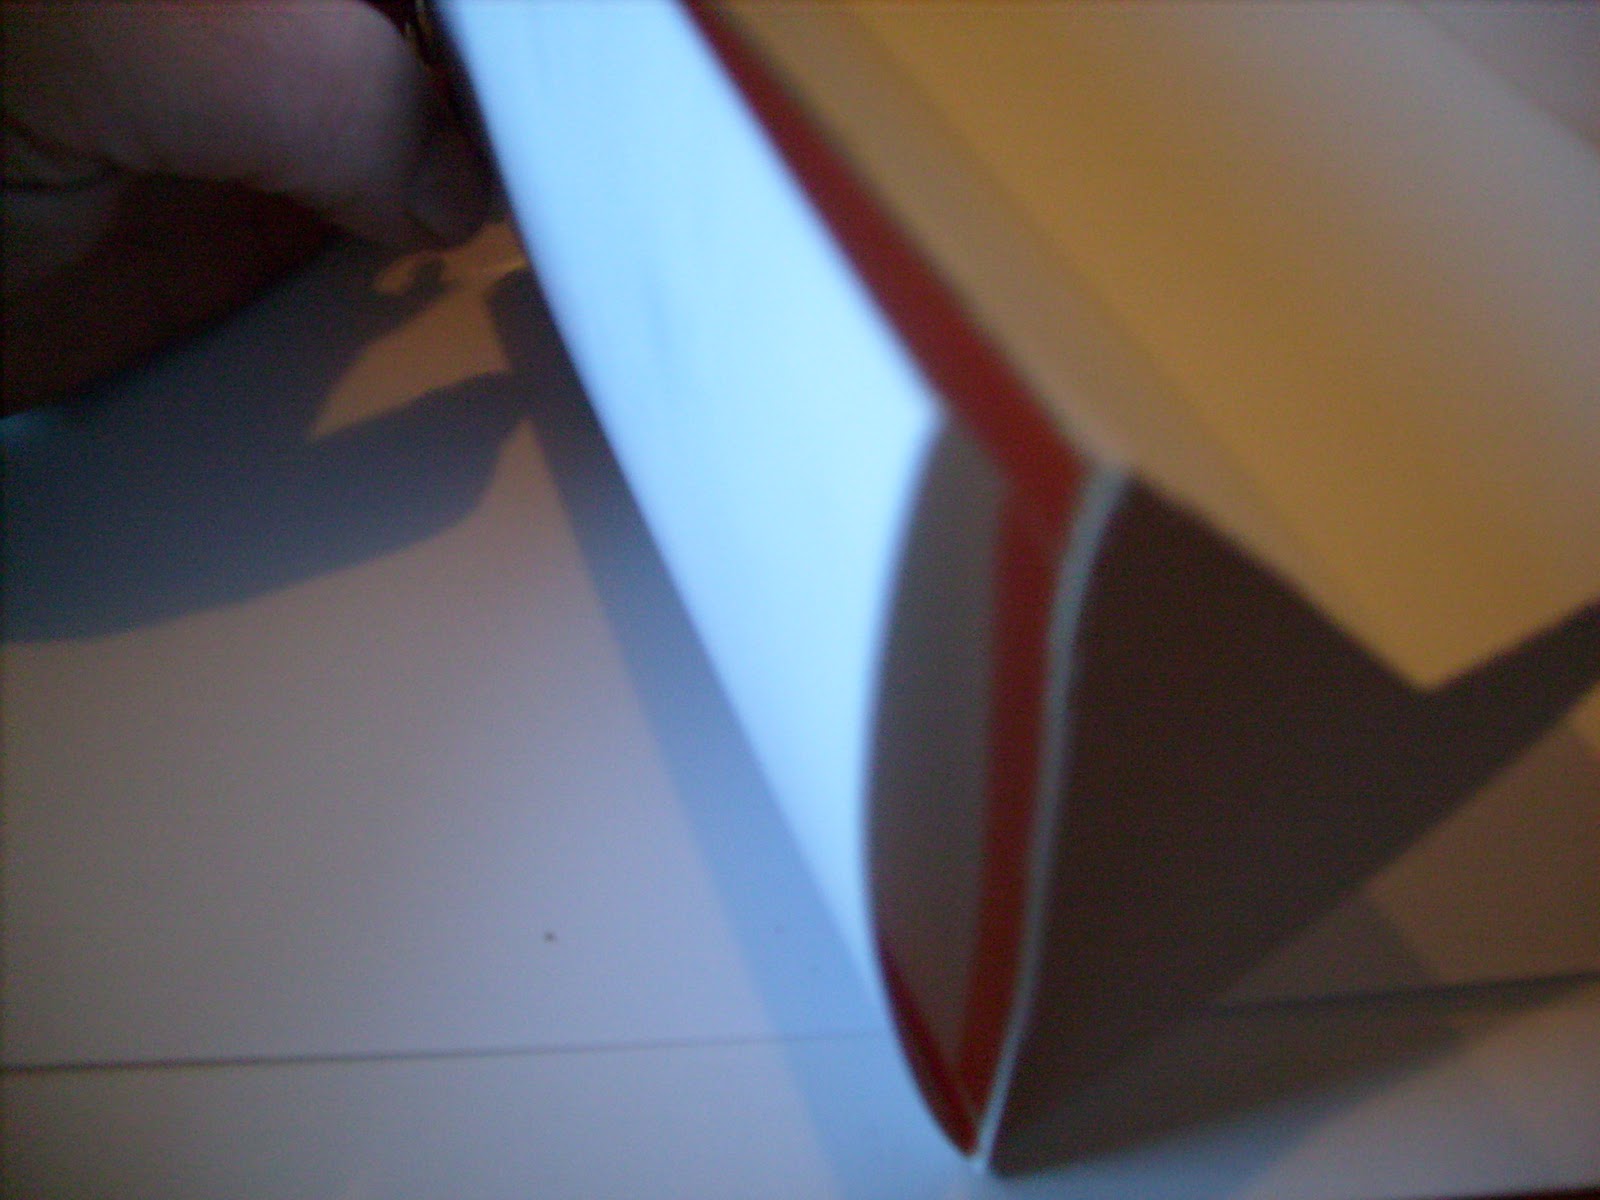
Close the card again. Taking the side with the folded over tab bend it backwards towards the card spine. See photo.

You have just created your stand for the card.


This stand is going to sit inside the Decorated A6 card. The small tab is to be joined to the main decorated front panel. Be sure to take your time doing this as you don't want a little white lip showing from the tab at the bottom of the calender.

Now the large panel sits inside the back panel of the decorated card.

Now just complete your decoration. Layer up your calender onto different card. Add your butterflies and gems. On the back decorate, I have used another stamp from the same Papermania Botanical Print Urban Stamp Set The lettering is from the Tatty Teddy Range.
Well I hope you like this project. I am working from the kitchen at the moment as the studio is just too cold to work in and I though you might like to see how I photograph my project. (see below)

Yep, I make my daughter Hannah hold up some white card for the background!!! I am so technical!!! lol.
Happy crafting everyone.
Hi Cliona
ReplyDeleteSome hard work has gone into this - I've enjoyed my nightly visits to the blog - only wish I had more time to play. See you soon
Happy Christmas
Annette