Well its been a mad 11 months for me. My computer has been on the blitz, my printer died, my camera refuses to take photos! I have been focusing on loosing weight and reached my target last week (6 stone 4 pounds lost) and my daughter who has been ill for over 2 1/2 years has finally received a diagnosis for her illness. So as I said its been a mad 11 months :)
Well I am hoping that life is getting back on track and that I will be able to post more to the blog. Sorry at everyone who has been checking for posts only to find that nothing new had been put up.
So here we go. First post in FOREVER!!!!
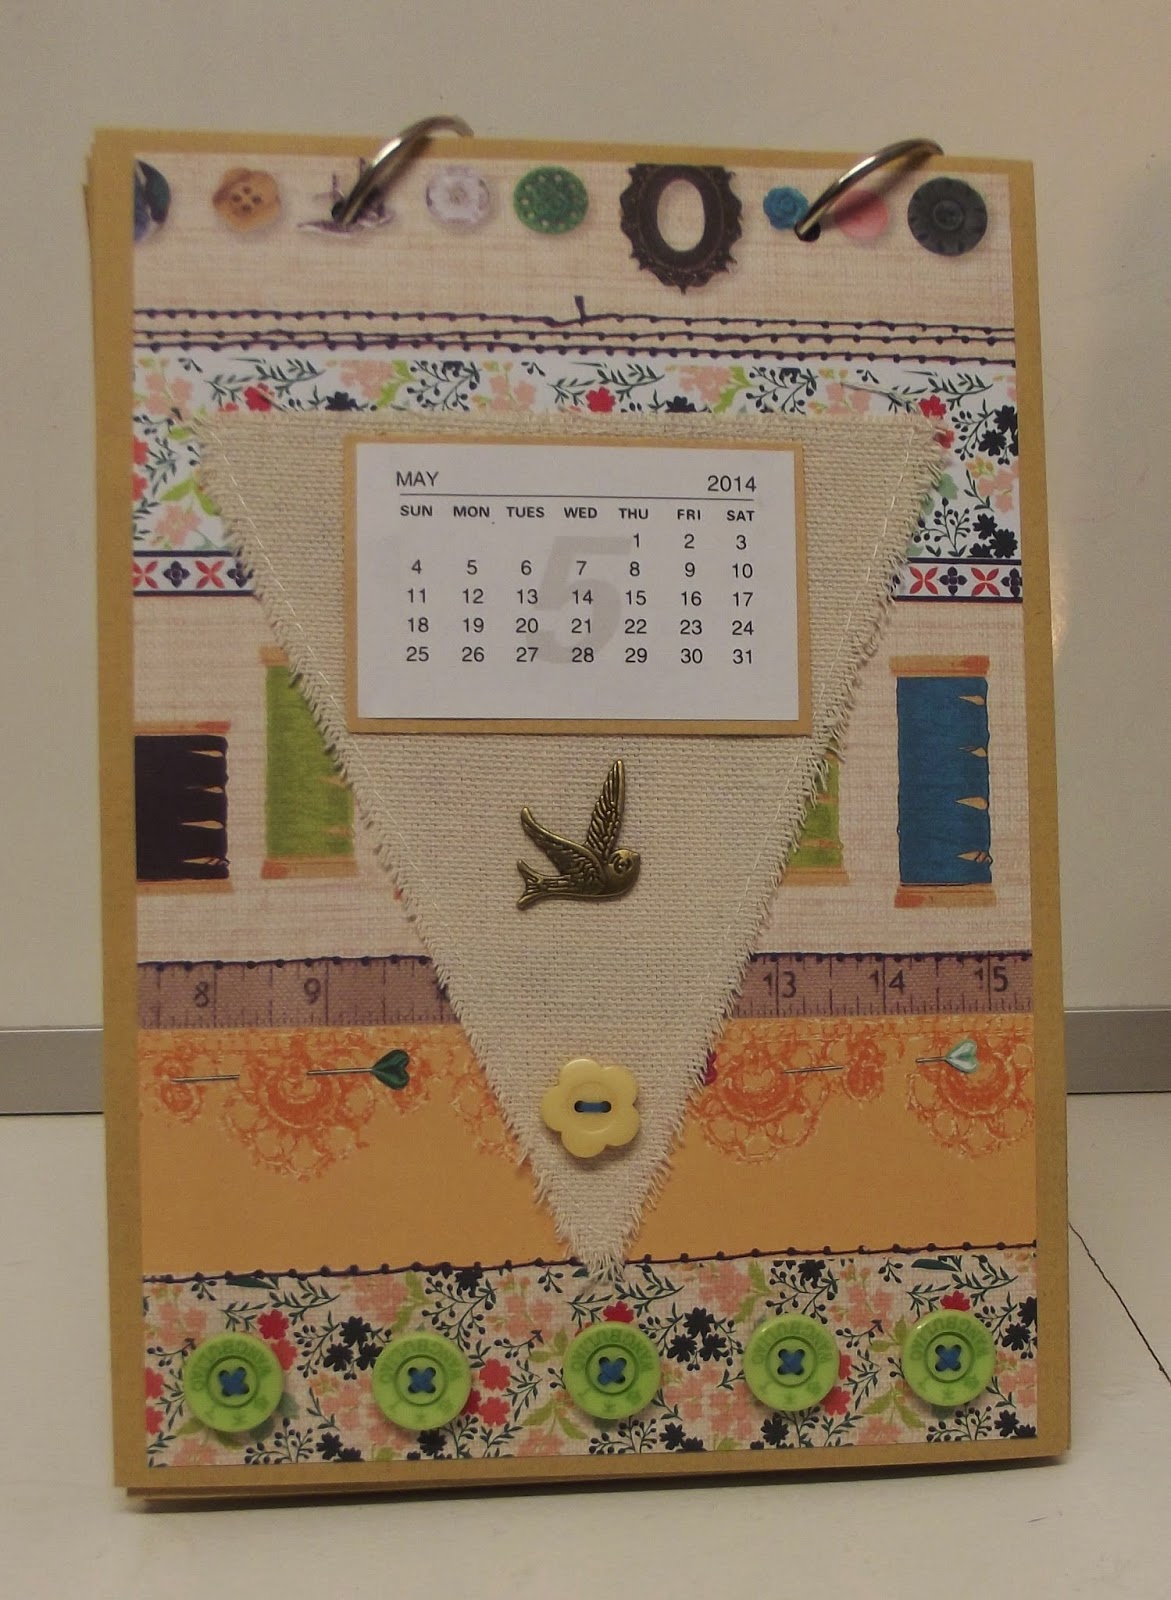
I made this calender for one of my demonstrations. Its made out of A5 envelopes covered back and front. You can choose to leave the flaps open and tucked in so that if you give it as a gift you could also include a card within each envelope so that he receiver has a card to send to someone for every month of the year. Once you have covered the 12 envelopes punch a hole in the tops (the non flap side) and hold them together with book rings. The last few photos are partially decorated as I ran out of time but what I am going to do is change up the calender for a 2015 calender and finish decorating all the pages so I can gift it for a family member at Christmas.
I hope you like it and Happy Crafting Everyone.