Its Day 2 of Tutorial Week on Night Owl Designs. This is a pop up table for your card. I love all things pop up anyway but this has to be one of those "special" cards. The funny thing is that once you have made it once you will realize how quickly you can put it together. There is nothing like a card that gets a fab reaction but in reality it hasn't taken you that long to make! Yeah, happy days!!


Cut two strips of card measuring 2cm x 9cm

Score at 2cm, 4cm, 6cm and 8cm. you will be left with a 1cm tab. Place double sided tape on this.


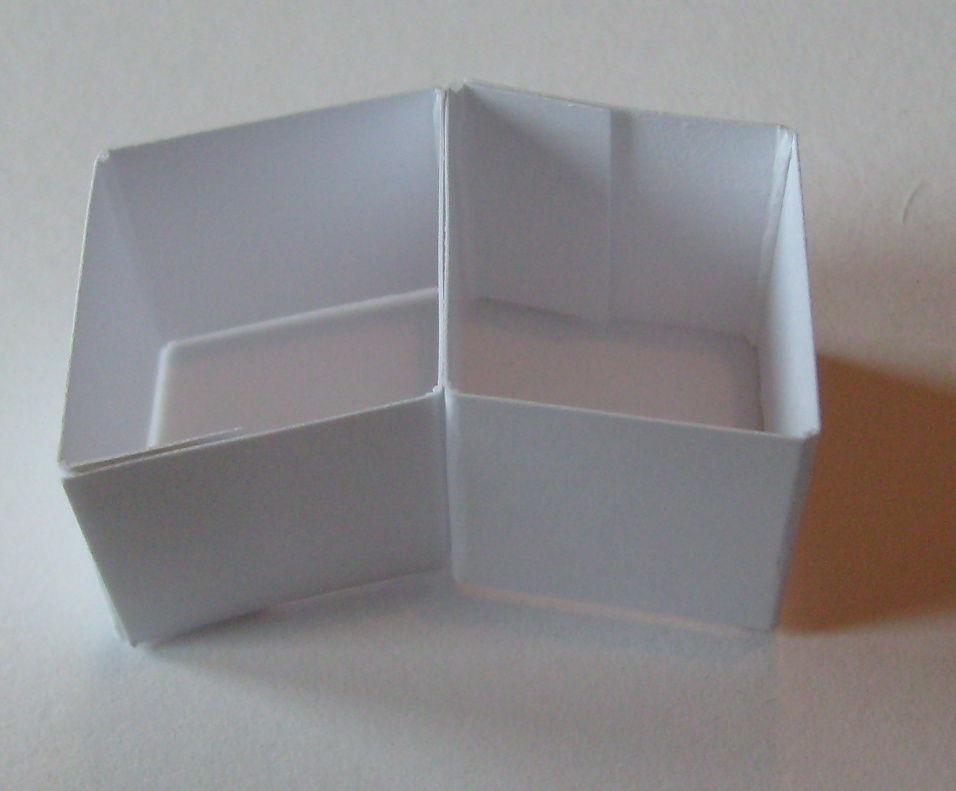
Fold all score lines in the same direction and attach the tab to the further edge of the card to form a box shape (see photo). Do this with both pieces of card.


Now cut a piece of card 15cm x 9 ½ cm.


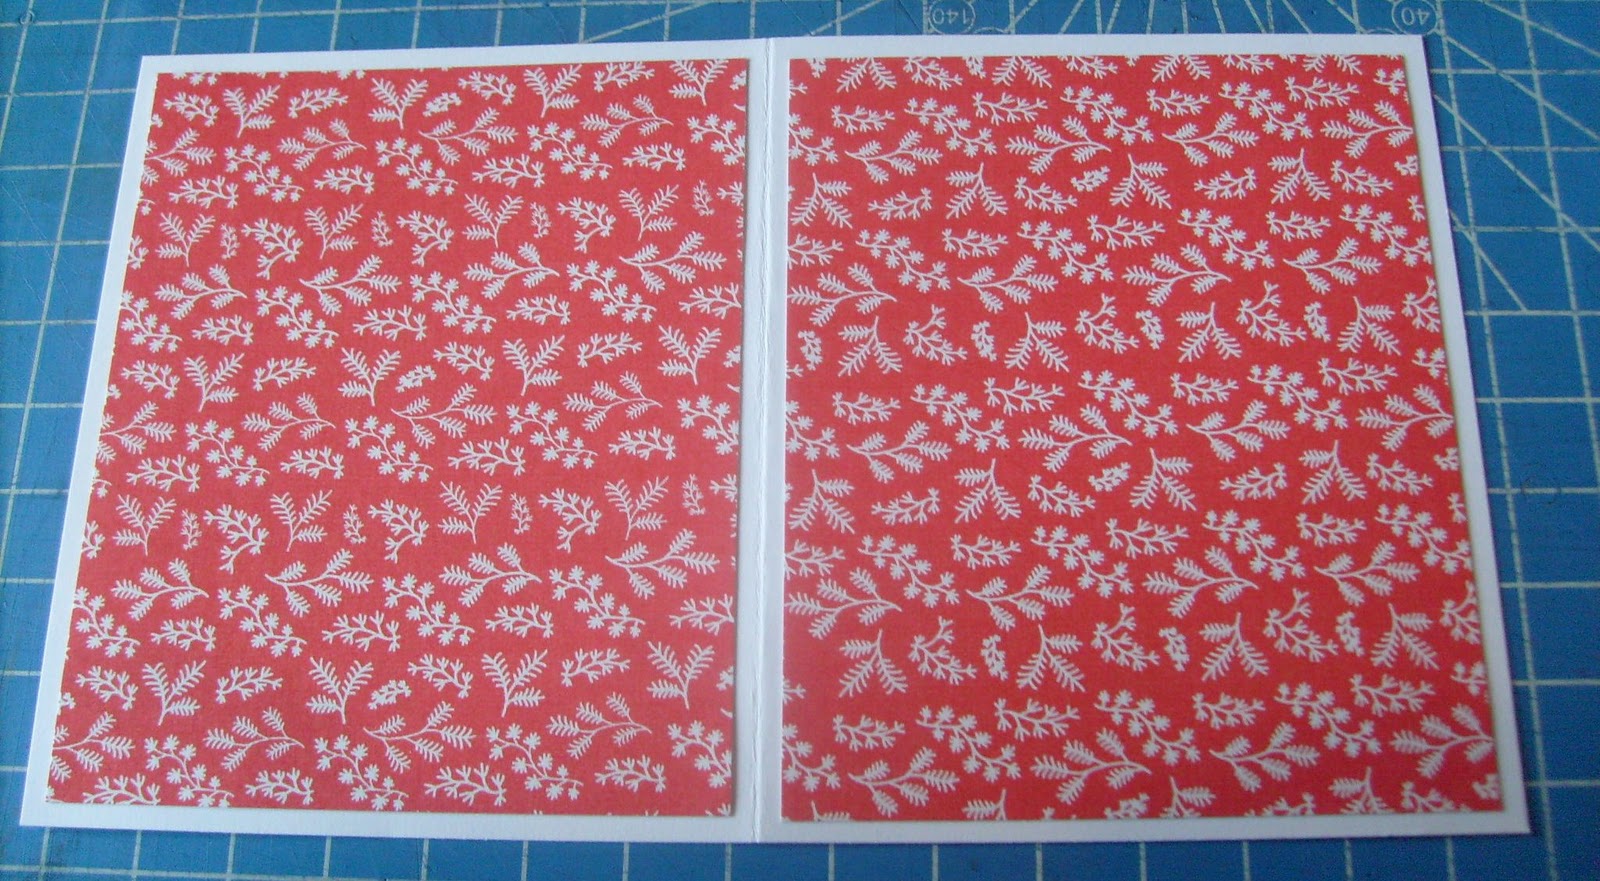
Now get your card ready: Take an A6 card and decorate it externally. Also decorate internally if you want to as as it is a lot more difficult to decorate afterward you have attached your table.
Right, back to the table top. Fold it so that the pattern is on the outside as shown in the photograph below. Open it up, you are going to work on the back of the table (the white side of the card).

Now place the pop up mechanism down on the table so that there is a piece of double sided tape facing each side of the card,(one on the card and one facing up) butt the squares with the tape on them up to the central score mark. Ignore the fact that my square facing up looks like it has an extra score line in it, it is actually just two pieces of double sided tape on the square to ensure that I had it completely covered.


Take your A6 card (mine is undecorated, yep cause I'm rushing!) and place the table in the card as shown below in the photo. Place the mechanism right up to the card central fold.

Remove the double sided tape from the square facing upwards and press the card front down on to it.
Flip the card over and do the same on the other side.


You now have a Table Top pop up card.


You could even make a smaller mechanism and use it to mount up a small greeting on top of your original table and make it a double pop up table card. Just reduce your measurement by 1/2cm and make it a thinner strip. You could even have 3 tables popping up (one on top of the other). Ah the possibilities are endless!
Well I hope you have as much fun making this as I did.
Happy crafting everyone, see you tomorrow.
Well I hope you have as much fun making this as I did.
Happy crafting everyone, see you tomorrow.