Ok, so you are probably wondering about the title of this post but its not wrong. I was up late one night and I needed to do an impressive card for a demo. It was 2.30am and I was not allowing myself to go to bed until I had produced something. So I sat, and I thought and this came to me. The easiest, laziest way to make a front panel..........."wow that's a fab fold"..........card!!!! It takes less then 5 minutes to put together. Now that is one L....A....Z...Y... card.
Here we go.............easy peasy..........
All measurements are in Inches.
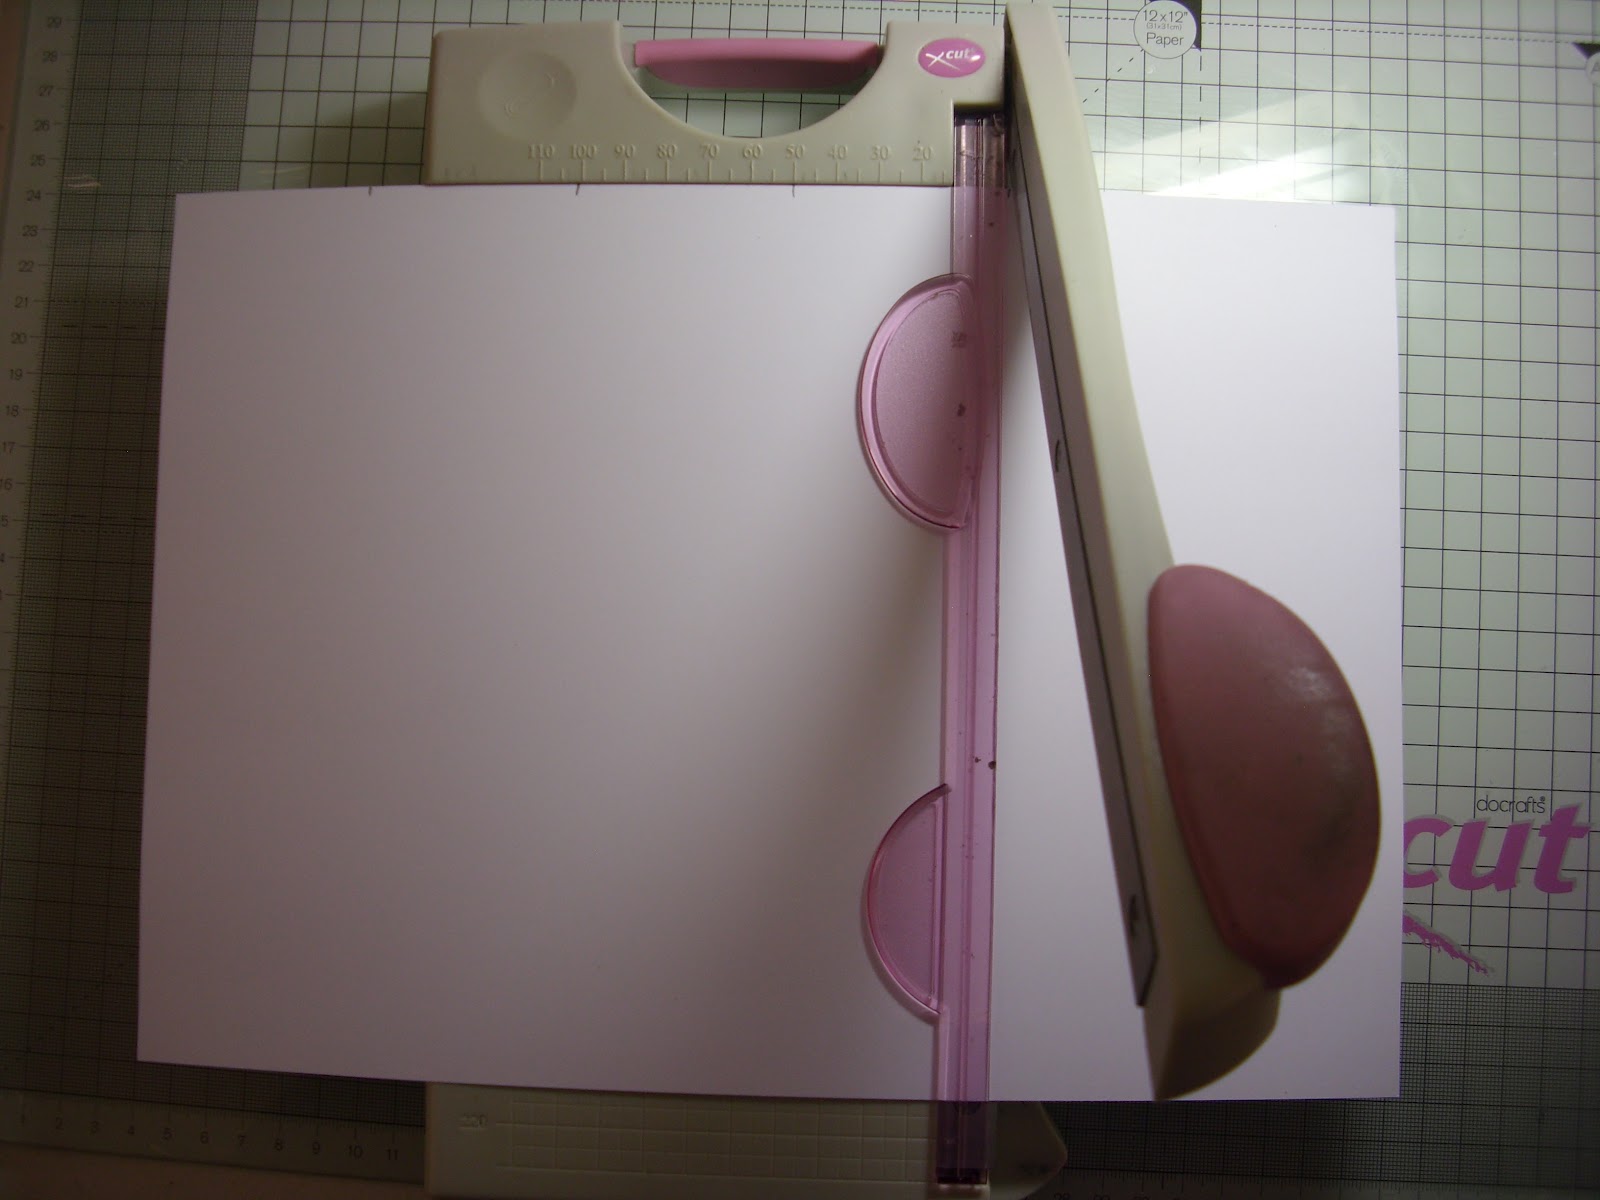
1. On the long edge of an A4 sheet of card make a mark at 2", 4", 6" and 8".
2. Cut off the section at the 8" mark
3. Put the section you just cut off to the side. You will need it soon.
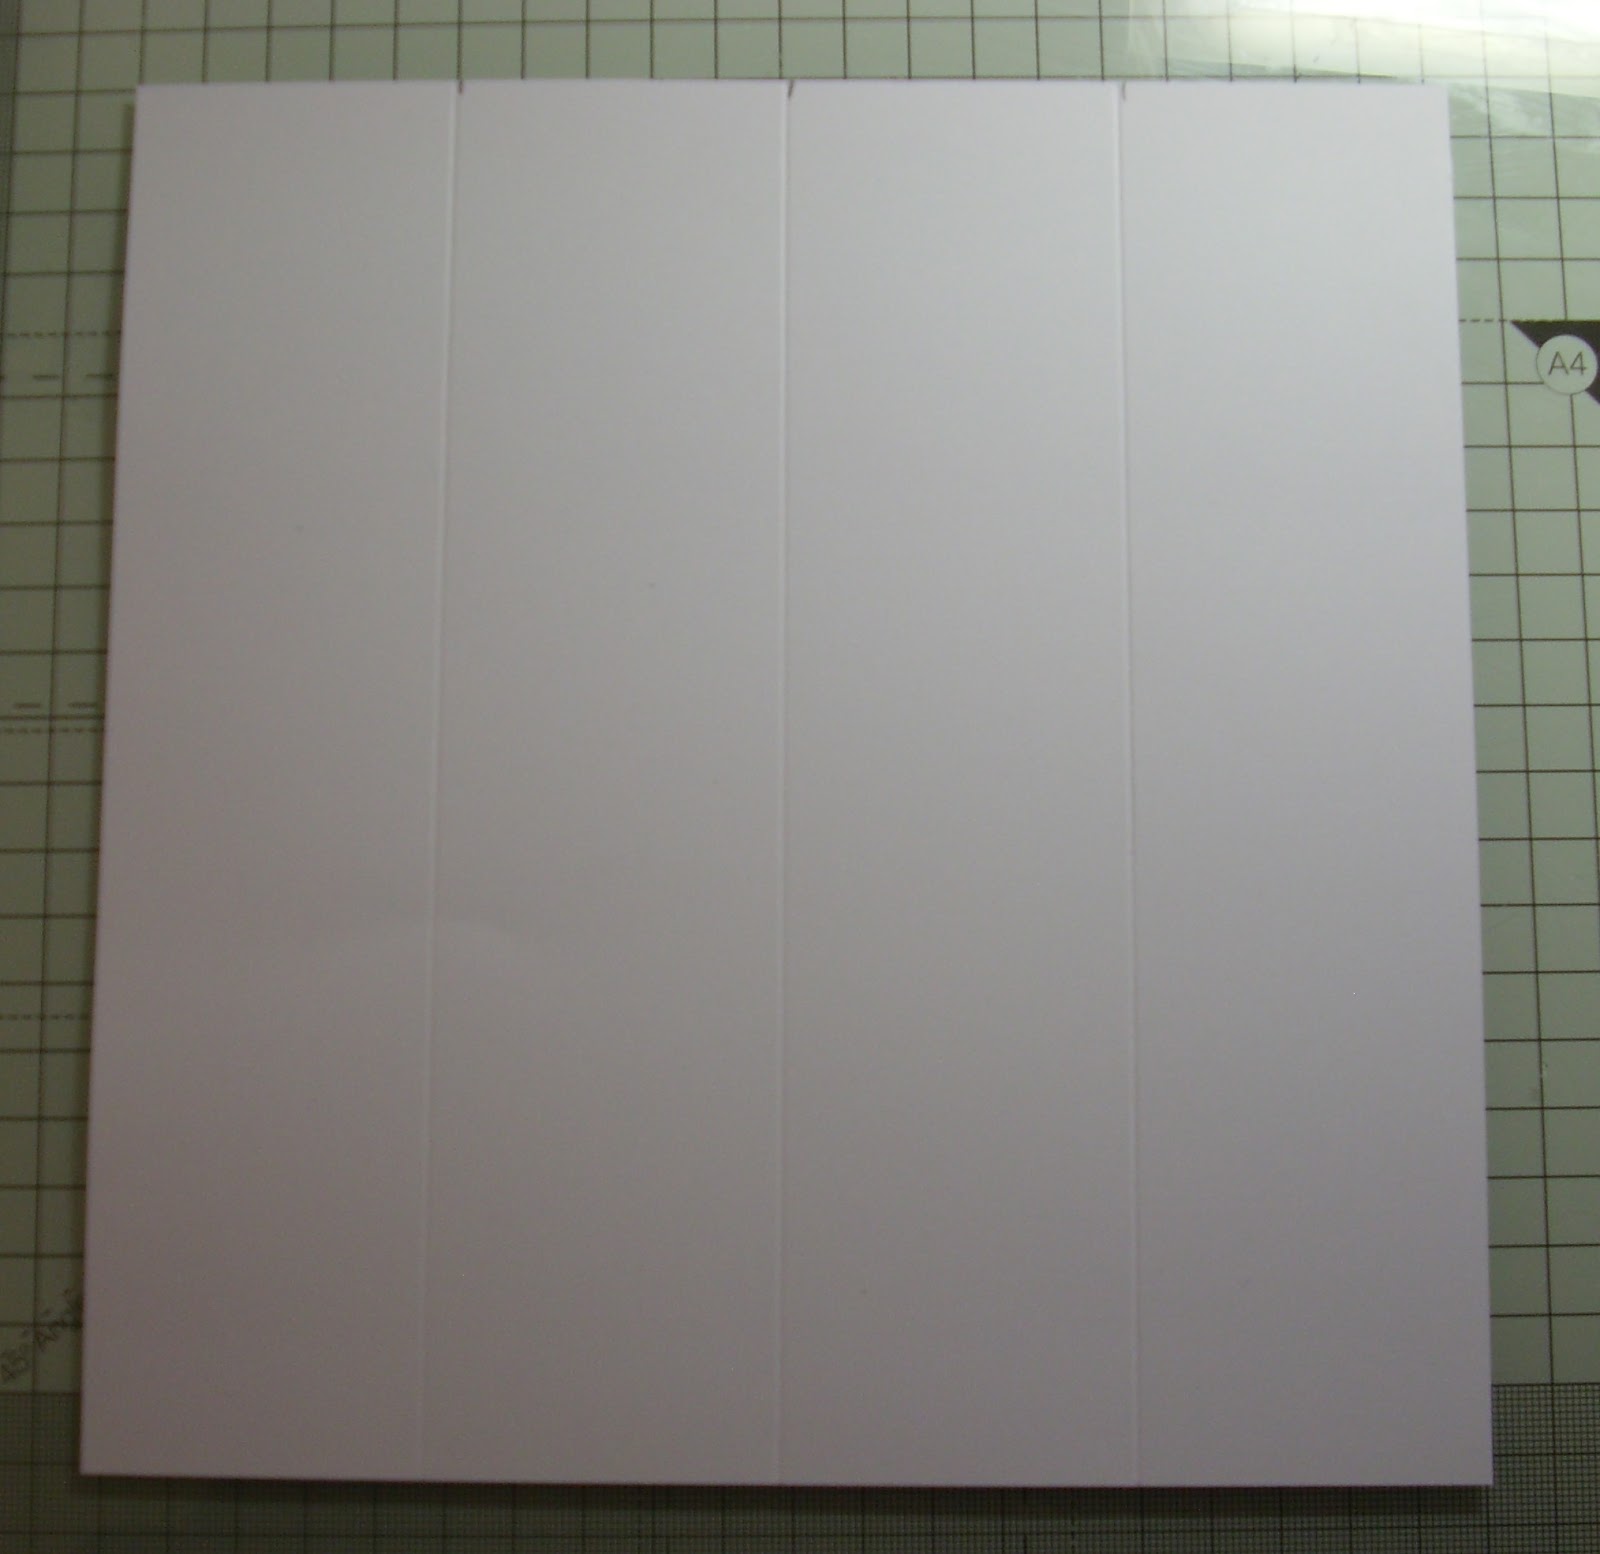
4. On the larger section, score on the 2", 4" and 6" marks.
5. Fold these marks in a concertina style as shown below
6. Now take the smaller section you cut off and fold it in half. Make sure to get a nice crisp score mark with a bone folder.
7. This section now pops over your folded section.
8. To glue this in place you want to be sure that you don't put your glue or double sided tape too high up the piece of card. I place the folded piece level with the end of the card and make a pencil mark. This ensures I place glue no further then this mark. I actually place my patterned paper in the valley show above before I glue this top piece down as it is just plain awkward to do it afterwards!!!
9.Now decorate the card.
Here is one of my finished samples. This is one of the fairy images from the Enchanted Fairy range from DoCrafts. I was very manic with work and home when this range came out and I only had a week to get everything done for my demo. So one of the girls in my class colored in the image for me, isen't she beautiful. It was done with water color pencils. Carmel you are a coloring genius :)
Well I hope you give it a go. Its one of the quickest cards to put together, gives a great effect and leaves you time to spend on decorating.
Happy Crafting Everyone


Well, that is just amazing! Thanks for the tutorial, and Cliona, that is one beautiful creation - thanks for sharing it with us! Hugs...
ReplyDeleteWow, that's brilliant, thank you for taking the time to share it with us all. I'll be trying that one out soon. It looks great all decorated up, in my favourite colour too!!
ReplyDeleteHugs Alison x x
great card and tutorial, thanks for sharing x
ReplyDeletegreat tutorial - thank you for sharing!
ReplyDeletelove the image and the colouring you have done xxx
your card is so lovely x
ReplyDeletethank you for sharing the great card fold x
Really stunning card with beautiful colours, and a fab tutorial
ReplyDeleteLindsay xx
Brilliant idea and terrific tutorial. The finished card is beautiful - gorgeous image. Elizabeth x
ReplyDeletereally nice iv been very lazy lately mabye this will give me an excuse to create lol
ReplyDeleteGorgeous card and a great tutorial xxx
ReplyDeleteGreat tutorial, thanks for sharing, lovely card by the way. Tinaxx
ReplyDeleteHello, Cliona -
ReplyDeleteI finally had a chance to visit here via LinkedIn and your Comment on My blog!! I love Your work, too!! Had to comment on This post, as *lavender is my favorite color - A few other bits of Trivia... ** In college, I was Lady Larkin in 'Once Upon a Mattress' *** I LOVE Irish music! **** I have forever dreamed of visiting Ireland (I've been as close as London...twice...and many places around the world...) and perhaps yet some day...? *****I'm Following YOU! ;-}
Lynden
http://aneleganttouch-lynden.blogspot.com
****** Oooops! Forgot this one... I'm a Night Owl, too!
ReplyDeleteLynden
This comment has been removed by a blog administrator.
ReplyDeleteWhat size is an A4 sheet?
ReplyDeleteI have 8-1/2 x 11. Will that work?