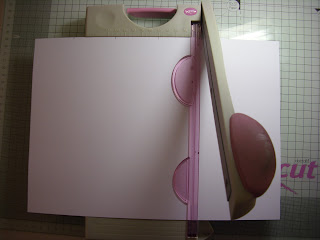
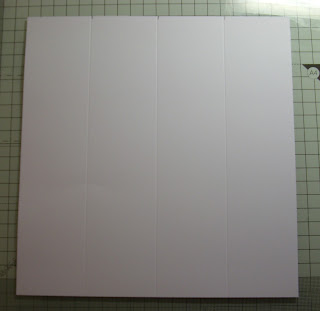
Here we go.............easy peasy..........
All measurements are in Inches.
1. On the long edge of an A4 sheet of card make a mark at 2", 4", 6" and 8".
2. Cut off the section at the 8" mark
3. Put the section you just cut off to the side. You will need it soon.
4. On the larger section, score on the 2", 4" and 6" marks.
5. Fold these marks in a concertina style as shown below
6. Now take the smaller section you cut off and fold it in half. Make sure to get a nice crisp score mark with a bone folder.
7. This section now pops over your folded section.
8. To glue this in place you want to be sure that you don't put your glue or double sided tape too high up the piece of card. I place the folded piece level with the end of the card and make a pencil mark. This ensures I place glue no further then this mark. I actually place my patterned paper in the valley show above before I glue this top piece down as it is just plain awkward to do it afterwards!!!
9.Now decorate the card.
Here is one of my finished samples. This is one of the fairy images from the Enchanted Fairy range from DoCrafts. I was very manic with work and home when this range came out and I only had a week to get everything done for my demo. So one of the girls in my class colored in the image for me, isen't she beautiful. It was done with water color pencils. Carmel you are a coloring genius :)
Well I hope you give it a go. Its one of the quickest cards to put together, gives a great effect and leaves you time to spend on decorating.
Happy Crafting Everyone


