Well it has been a busy few weeks here at home so my poor little blog has taken the hit!!!! Well I am back and I have missed being here.
So there I was wandering the internet and I started coming across all these fabulous Tea Caddy boxes. I knew I had to make one and then show everyone at demos how to do it so I tried some of the different sizes out there and these measurements kept popping up again and again.and the tea bags I have just fitted perfectly inside the box. I don't know who the original creator is of these boxes but whoever you are .............you are genius!!!! :)
First of all don't
panic and start thinking this is a hard project. Once you get going on
it you will be amazed how easily it comes together.
Ok, so the measurements are all in inches. Take your time, read the instructions through, ,follow the photos and you should have no problems. Don't forget to breathe between the start and the finish!!!!!!
Cut
card stock to 6” x 12”
Score down
the long part of the card at 1”
Score down
the short part of the card at 3 1/6
, 5 ¾ , 8 13/16 , 11 ½
Score up on
the second panel of the card from the left at 1 ¾ (or ¾ past the 1” scored
line)
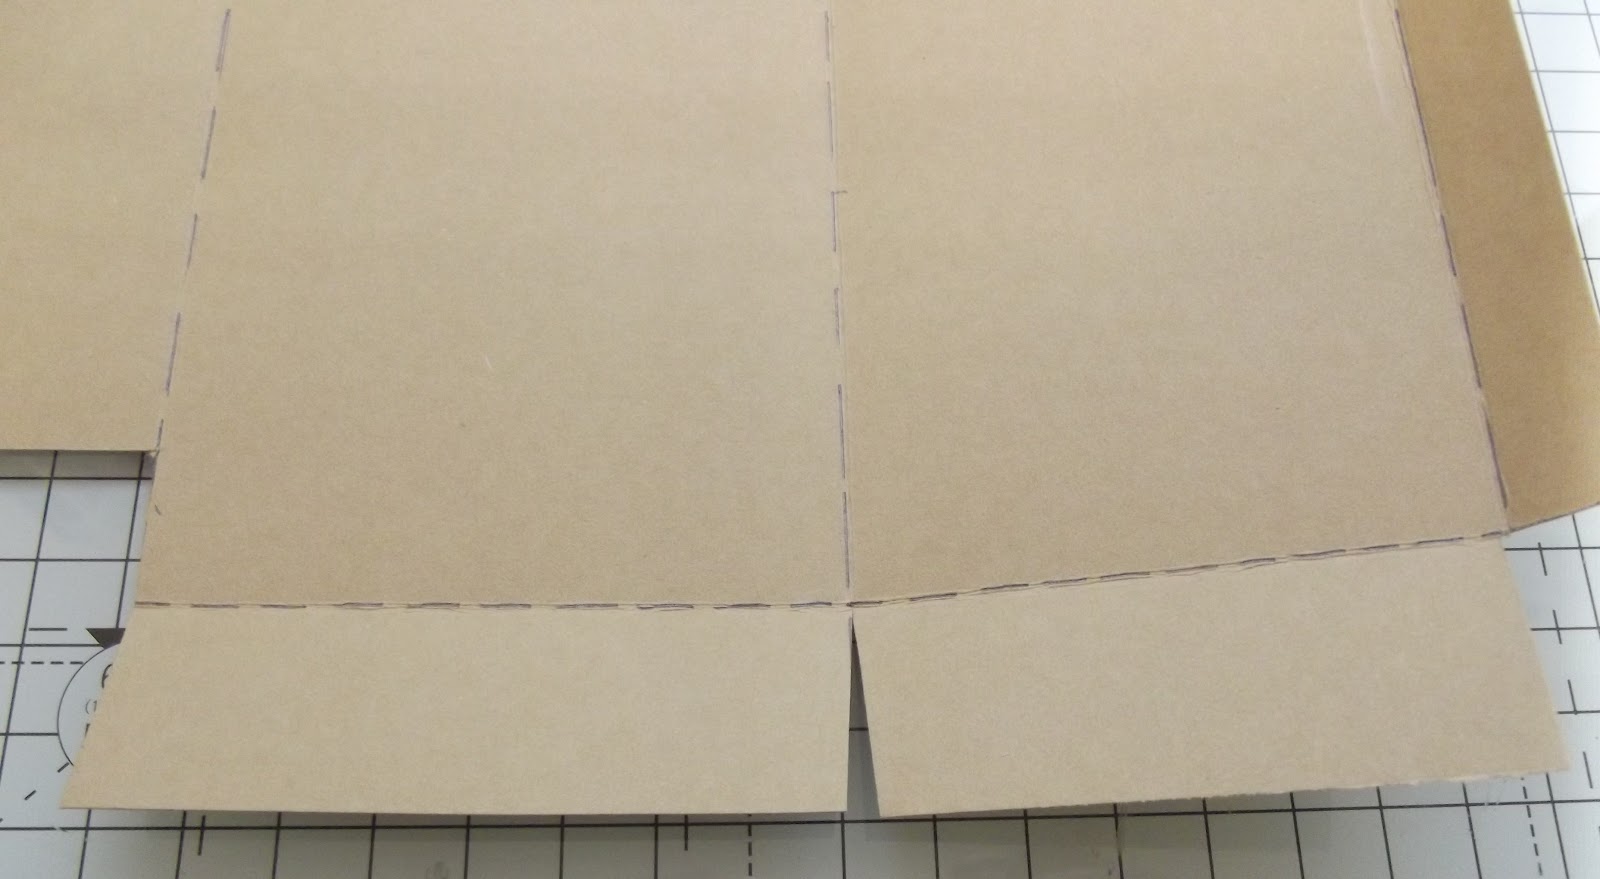
Now cut out
the section on the second panel up to the 1 ¾ line you just scored – (see photo)
Cut out the
bottom tab section on the right hand side.
This is what your project should look like now.
Cut a small
V shape out of the two sections that have a score between them to make them
into large tabs.
Now is the time to decorate
your box before you join it together.
Place
double sided tape on the long side tab section.
Once your box is decorated join it together as shown below.
This is what the box will look like now.
Place some double sided tape on the tabs at the bottom of the box and join the tabs together.
That's your box basically made so pop it to the side and we will finish it off after we make the lid.
Tea Caddy Lid
Cut
a piece of card stock to 4¼ x 45/8
Score at ¾
"on all sides
Cut tabs into the lid
by cutting a straight line on the large tab side and on the small tab
side cut in at an angle.This will help the small tabs fold in neatly
when you are joining the lid together.
Using a bone folder strengthen all the score lines.
Cover the lid with your papers.
Place
double sided tape on the small tabs and join everything together to make the lid.
Base to go under the Tea Caddy.
Cut cardboard ( I used a section cut from the front cover of a pack of core card or you can use card from a cereal box or anything close to hand) to
3” x 3 3/8 . Place two pieces of double sided tape on the card.
Cut a piece of your designer paper slightly larger then the cardboard.
Take the tape off the card and place it into the center of the back of the designer paper.
Now put double sided tape around all four corners of the cardboard.
Cut off the corner of the overhanging paper but don't cut right to the corner of the card as we don't want any corners peeking out. Leave a little gap as shown.
Take the backing off the double sided tape and fold the paper down onto the exposed tape.
Now cut a piece of paper slightly smaller then the cardboard and glue it over the exposed cardboard.
It should have a nice neat finish like shown below.
Place double sided tape on the bottom of the Tea Caddy box.. Expose the tape and join the tea caddy to the base you have just created. Take your time doing this as you want the box bottom flaps to stand straight on the base.
Cut a piece of paper to glue inside the box to cover the exposed flaps on the box.
Decorate the outside. Pop in some tea bags and put the lid on. You are done. Now go have a cup of tea. You deserve it!!!
As you can see below I went a bit mad on making these................love em!!!!!
The first box is made using theDocrafts Enchanted Fairy paper and decoupage, the second box is made using the Oriental papers and coins that Docrafts had out a couple of years ago and the third is using the Henbury Lane papers also from Docrafts the newer Lucy Cromwell papers would work wonderfully on this project also.
Happy Crafting everyone.


