So lets get going on making one :) All measurements are in inches.
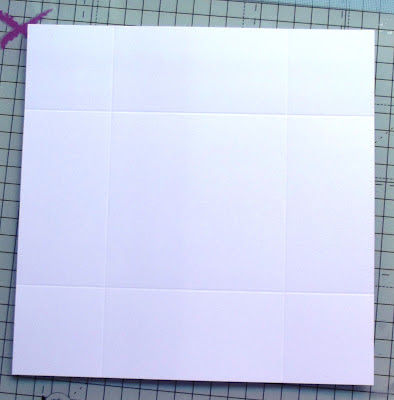
Cut a piece of card stock to 8" x 8".
Score at 2" and 6", turn and score the next side at 2" and 6".
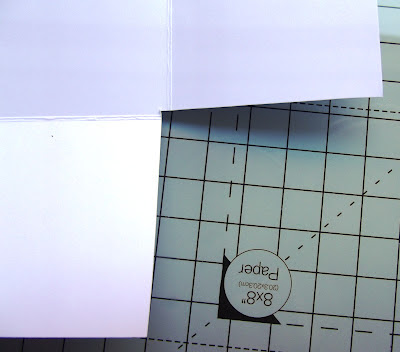
Now cut the four corner squares off. Make sure you cut out a little bit more then you usually would so that the
card folds in neatly.
This will mean that the cuts will join up a
fraction into the central square but don't worry this will be covered up
later on. :)
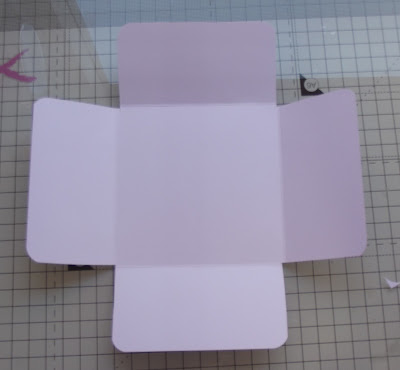
This is what you card will look like now.
Now take your corner punch and punch each corner.
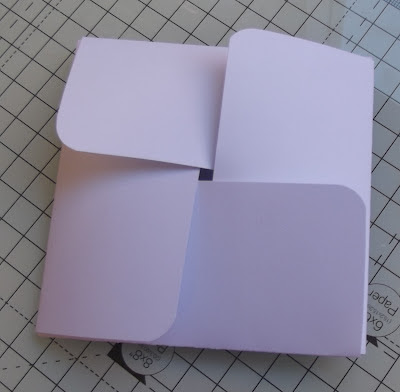
This is it closed up.
The photo below is not great but this is what it will look like on the other side. You will have little nicks showing at the corner but we will be placing a top onto this and it will cover them up.
Cut a piece of card stock to the same size square as the card itself.
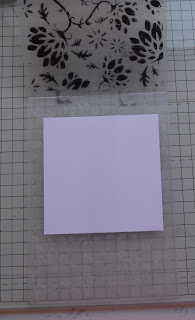
Emboss this piece of card on your Big Shot.
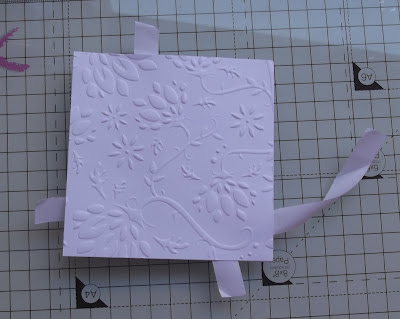
Place double sided tape on the back of the embossed piece and turn back the corners .
Join your embossed piece to the top of the card, when you are happy with
your placement of the piece then press down on the exposed tape
sections and slide out the tape cover pieces from the side of the card.Now all you need to do is add a button and a tassel. If you have never made a tassle before there are a some great tutorials out on the web Make-a-Bookmark-Tassel is just one of them. Nice clear instructions. They use a needle on one of the steps and if I am honest I just wrapped my thread around a few times and knotted it and cut off any bits that looked a bit dodgy!!!! lol.
Remember this card can be made in loads of different sizes. All you really need is a square that can be worked into 3 sections. In other words a 12" x 12" piece of card gets scored at 3" and 9". What this essentially means is the center is twice the size of a side piece. In this case the left side piece will be 3" the middle will be 6" and the right side will be 3". For a 6" x 6" piece of card the left side piece will be 1½" the middle will be 3"and the right side will be 1½" .
I hope you enjoy making this little gem of a card. I have to say I love it.
Happy Crafting Everyone.











What a neat idea for this card Cliona !! If you would like to see another version, then pop over to my blog and you'll see the one I did the other week.
ReplyDeletehugs Diane xx
A great idea Cliona and lovely embossing too. Thank you for sharing.
ReplyDeleteHugs
Linda xxx
This is brilliant, thanks for sharing x
ReplyDeleteWow amazing card and i love the tutorial thanks xxxx
ReplyDeleteNicky
Great card - thanks for this tutorial - kind of you to share
ReplyDeleteKate
xx
what a great idea, easy when you know how! lol thanks for sharing x
ReplyDeleteThanks for sharing.
ReplyDeleteLooks fab! Thank you. Lea xx
ReplyDeleteThis is a really clever card, I love it! Thanks for the tutorial. xx
ReplyDeleteLove the idea,very clever.xxx
ReplyDeleteBrilliant, thanks for sharing hun xx
ReplyDeleteGreat Cliona, Thank you for sharing and will have a go xxxxx
ReplyDeleteLOVELY XX
ReplyDeleteSuper idea and so clever to work out how to make it.Thanks for the tutorial.
ReplyDeleteLisa x
Cute idea!
ReplyDeleteGreat idea, thanks for sharing :)
ReplyDelete