Tuesday, December 13, 2011

Table Top Card Tutorial


Its Day 2 of Tutorial Week on Night Owl Designs. This is a pop up table for your card. I love all things pop up anyway but this has to be one of those "special" cards. The funny thing is that once you have made it once you will realize how quickly you can put it together. There is nothing like a card that gets a fab reaction but in reality it hasn't taken you that long to make! Yeah, happy days!!


 Cut two strips of card measuring 2cm x 9cm

Score at 2cm, 4cm, 6cm and 8cm. you will be left with a 1cm tab. Place double sided tape on this.
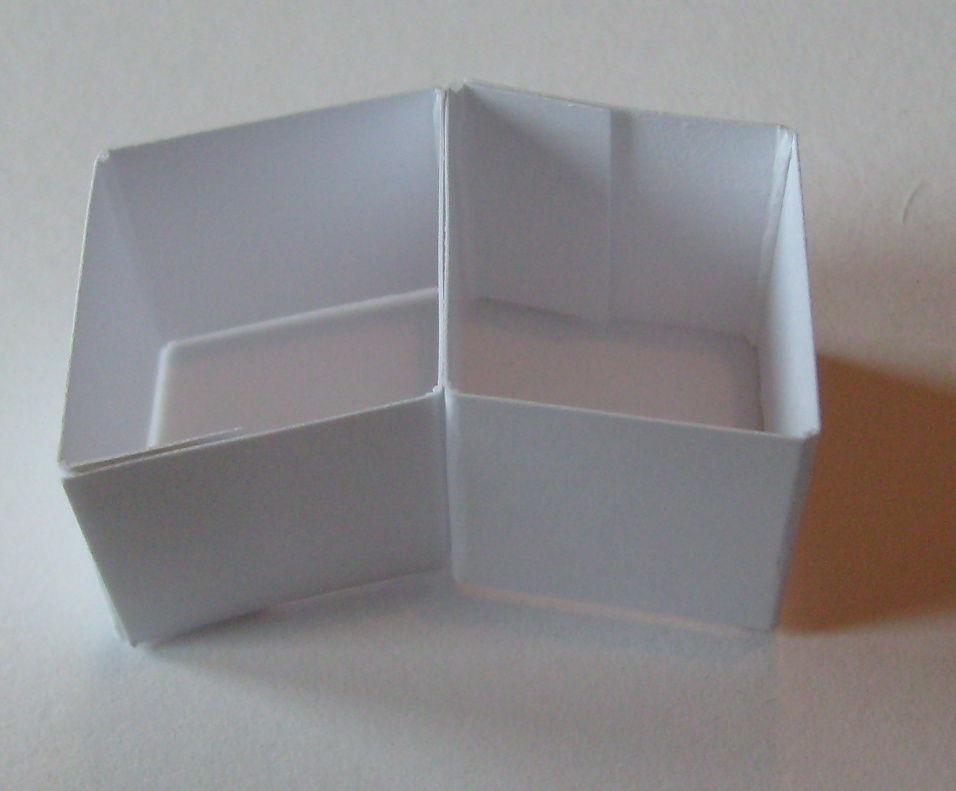
Fold all score lines in the same direction and attach the tab to the further edge of the card to form a box shape (see photo). Do this with both pieces of card.

 Put double sided tape on one side of one box and attach it to the second box (see below)
 From now on we will call this your pop up mechanism.
Now cut a piece of card 15cm x 9 ½ cm.
 Fold in half. This is your Pop up table.
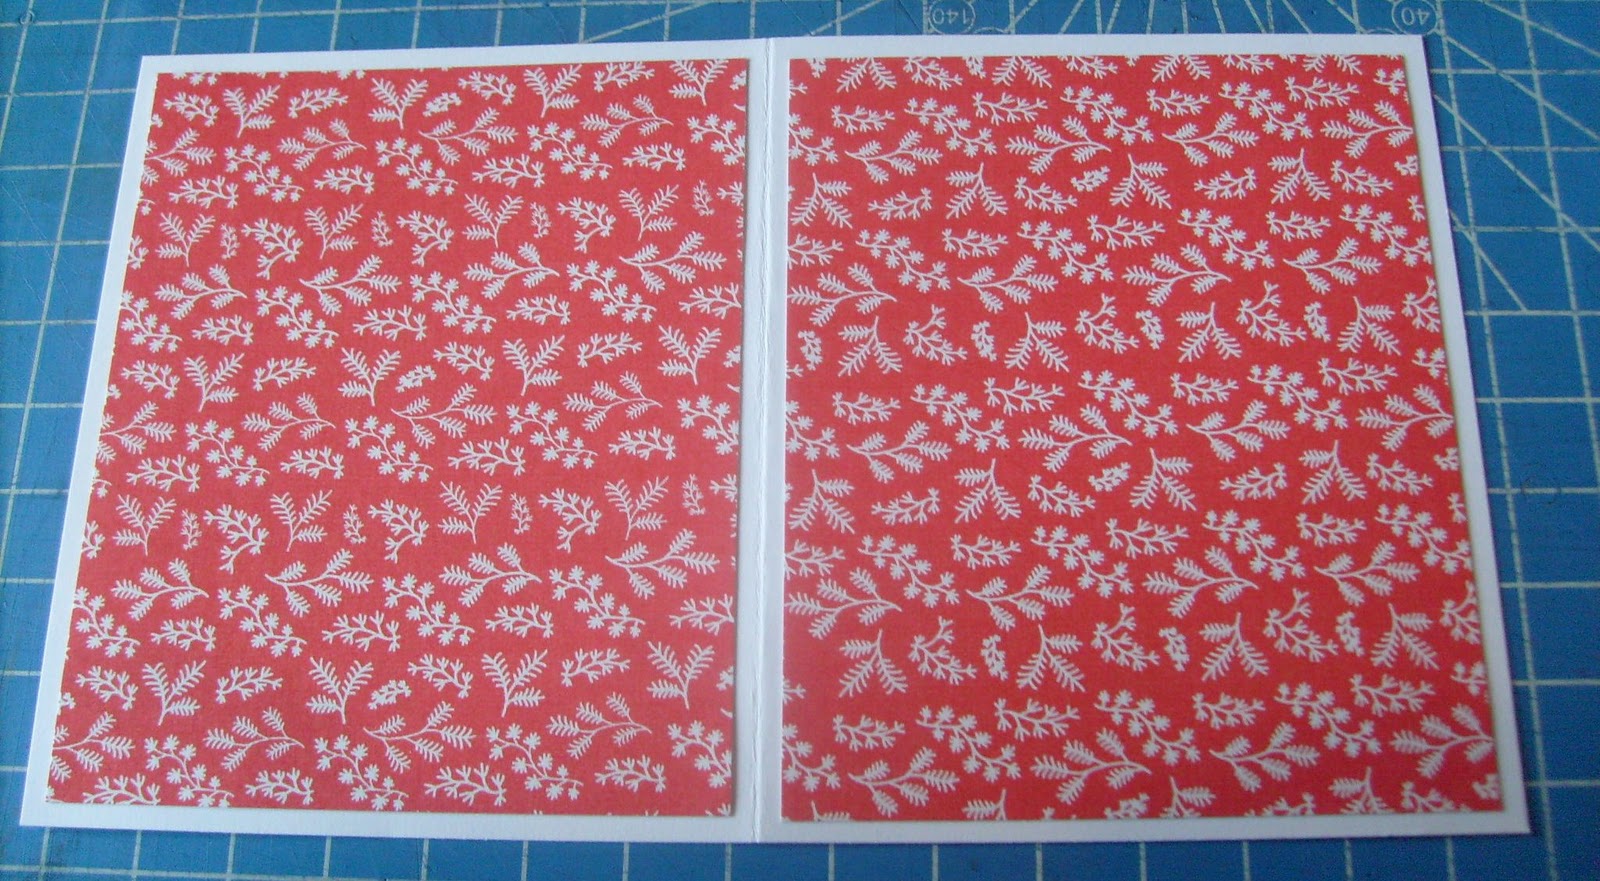
 Decorate your table front. I have just put paper on at this stage for the tutorial but I would normally decorate it completely.
 Now get your card ready: Take an A6 card and decorate it externally. Also decorate internally  if you want to as as it is a lot more difficult to decorate afterward you have attached your table.

Right, back to the table top. Fold it so that the pattern is on the outside as shown in the photograph below. Open it up, you are going to work on the back of the table (the white side of the card).
 Take your pop up mechanism in your hand and either side of where the squares are joined together put double sided tape. You should now have two square opposite of one another with tape on them.
 Now place the pop up mechanism down on the table so that there is a piece of double sided tape facing each side of the card,(one on the card and one facing up) butt the squares with the tape on them up to the central score mark. Ignore the fact that my square facing up looks like it has an extra score line in it, it is actually just two pieces of double sided tape on the square to ensure that I had it completely covered.

 Take the backing off the tape on the square facing upwards and carefully close the card down on top of it. I tend to hold onto the mechanism to make sure it stays in place.
 It should now look like this.
 Now do the same to the second square with tape on it - expose the tape and close the card down on it.

 When you open up the card it should look like this picture below.
Now fold the card so that the decorative table part of it is closed in the middle. If you look you can see the square hanging over the side of the card. Place double sided tape on this square and the one on the opposite side.

 Take your A6 card (mine is undecorated, yep cause I'm rushing!) and place the table in the card as shown below in the photo. Place the mechanism right up to the card central fold.
Remove the double sided tape from the square facing upwards and press the card front down on to it.
Flip the card over and do the same on the other side.


You now have a Table Top pop up card.
You could even make a smaller mechanism and use it to mount up a small greeting on top of your original table and make it a double pop up table card. Just reduce your measurement by 1/2cm and make it a thinner strip. You could even have 3 tables popping up (one on top of the other). Ah the possibilities are endless!

Well I hope you have as much fun making this as I did.

Happy crafting everyone, see you tomorrow.

Monday, December 12, 2011

Tea Light Holder Tutorial

Well this is the first Tutorial of  Tutorial Week on the blog. You really have to give this one a go as it is so much easier than it looks and gets a fantastic reaction from the receiver. These are going to be part of my Teachers gifts this year.

This card is a mix of Inches and Centimeters and I will indicate at each section which to measure in.

You will need 2 A4 sheets of card for this project (same color) or 1 -  12 x 12 sheet of card.

Tea Light Card
Cut card to A4 length  x 6" – (measurements in inches)

Scoring measurements are in Centimeters.
Score down the width of the card at 1, 3, 7, 9 and 21.5 cm.
 Fold all score lines in the same direction.
The score marks at 1,3,7 and 9cm will fold into your Tea Light holder and the 21.5cm mark will fold into your card section.
See, easy peasy!!!

Now cut yourself paper to cover the top of the Tea light box and both sides and a piece of paper to cover the card front. I have used the "At Christmas Time" paper from Docrafts. The sizes below are the ones I used but you will determine your own sizing for these panels as you go. Adhere the Tea Light box paper panels ensuring to use glue everywhere on the top panel (where your tea lights show through) as this is going to be cut into and you need to make sure the paper stays on securely. Don't adhere your card section of paper yet as if you are out in your measurements in any way the card section may be too tight to the box and you may need to shave something off the card front. The card paper panel should be the last thing to put down before you embellish your card.

Paper - measurements in Centimeters
Card Front 7,5cm x 14.8cm
Tea Light Top panel = 3.5cm x 14.8cm
Tea Light Side Panel x 2 = 1.5cm x 14.8cm
 Glue your panels down.
Place strong double sided tape on the tab as shown below.
Now turn the card over and in the large middle section of the tea light box section cut out a window. I measure 1cm in from each end and 2cm in from each side. I draw it out as a rectangle on the inside as this won't be seen once the box is put together. Cut out with a craft knife. If any small section won't come away from the card go back in again with your knife to cut it, don't be tempted to pull on it as it could damage the card front.

Place thin strong double sided tape around the window you have cut and add a piece of acetate over this to create a window.
Acetate
3.5cm x 14.5cm

Now put this all aside as you need to make the tea light holder before you can adhere it all together.

 Tea light box holder – Measurements in inches
Cut a piece of card stock at 73/8" x 31/8"
 Score on all 4 sides at ¾ "
 Cut into the score lines as shown below in the picture. The little corner boxes will become your tabs to stick your box together. I always cut a tiny little triangle out of the tab instead of just a straight cut so that the tab sits snugly into the box.
Place strong double sided tape on these tabs.
Tuck these tabs into the box sides. Make sure the sides are nice and even.
Sit the holder onto the box section of the card. (the picture below shows this without the window having been cut out..........apologies for that!!)
Wrap the box section around the tea light holder you will attach tab section  to the card. Be very careful to get this nice and tight and square to the card as if this is out a little bit the card section won't sit over snugly.

 Now, as is the tradition of all my tutorials the color of the paper will change..........lol. I gave the original tutorial box to a shop as a sample so I am now showing you my next sample made out of the gold paper from the "At Christmas Time" paper pack from Docrafts.

Now fold the card part of the card over and make sure it fits nicely, if it is too tight just cut a a small strip off. Cover card your remaining piece of paper and embelish the front of your card.

I tie ribbon over the candle section of the card to stop the box slipping and it embellish the card further.

Well I hope you like it. It makes a fantastic yet inexpensive gift. I intend to give a lot of these out this year.

I just thought I would add this photo in this post to show you some of my prepared Tea Light gifts.

Rather than drive myself mad by trying to come up with some fantastic sized box. I just made both the lid and the bottom the same size 8 1/4 inches x 7 inches, scored around all sides at 1 inch. Cut into the corners to create tabs and fit them to the inside of the box.  For te bottom box I angled the corners slightly inwards to make it easier for the top to fit over. I used a circle punch to snip a semi circle out of two sides to make it easier to open. Once I took the lid off a couple of times it just slid on easily after that.


Sunday, December 11, 2011

Gorjuss Snowman and Tutorial Week

Hi everyone, just wanted to show you a very quick card using my new Gorjuss Snowman stamp. I bought this at the Great Big Craft Extravaganza in Athlone and I was so sorry I had to leave all the others behind. I know they all wanted to come and live with me!!

The silver die cut oval and scallop oval are cut with the Xcut Nesting Dies. I stamped the snowman and then masked him. I sponged they sky with "Me to You" Blue nose Dye based Mini Ink Pad and stamped the snowflakes in black Memento Ink. The coloring is done in Copic markers.

Hope you like it.

I have been working all week on Tutorials to upload to the blog. So tomorrow will be the beginning of TUTORIAL WEEK  on Night Owl Designs. I will upload a tutorial a day for the next 7 days. I am really excited about it and I hope you will be too :)

Happy Crafting everyone.

Saturday, December 10, 2011

The many faces of Never Ending Cards

I am a massive fan of Never Ending Cards and have been making them for a few years, well joy of joy Docrafts came out with a pack of cards so that you can to put them together really quickly. Big shout out to Nikki Smith here for designing them for DoCrafts. You still have to do all the layering etc etc but having them there just to pop together quickly is fab. I thought I would show you a few samples of ones I have been making over the last few months. The top two are Docraft Cards and the bottom two are ones I made myself. All the papers and embellishments are from different Docraft ranges.

This one was made with "At Christmas Time" papers.


This is a great little one for kids to put together using the "Cranberry and Apple" Capsule Paper and the "Noel" Chipboard toppers.


 This sample uses the Forever Friends Foiled Paper Pack "A Christmas Tale" (adore this paper). The toppers and greetings all come from the same Forever Friends toppers pack.
 
This is from the Papermaina "Happy Birthday to You!" ultimate pack.
 
So if you haven't given these cards a go yet. You really should try them out. They are addictive to make and to play with. I love the reaction as people end up back at the front of the card again (if you know what I mean!). I also make them in a mini size for kids that fit just perfectly into their hands and I love watching them turn these cards around and around mesmerized by the magic of it.

Well, I hope you like them.  Happy Crafting everyone.