This is an A6 card with just 2 small panels cut out of the front. The greeting keeps the panels together and steady.
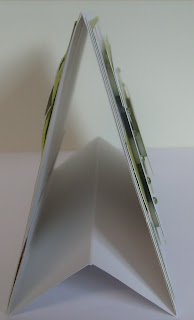
This is 2 A6 cards joined together in the same way the A6 Calender was made (see tutorial link on the side panel).
Front View
Side View
Back view (for message/greeting)
Again an A6 Card with deep top corners cut off.
A6 Card with a section cut out of the middle. Twirler is held on with thin jewellery wire. I scored about 1cm from the spine of the card on just the front panel and then stuck this section together with double sided tape (to the back panel) whilst catching the jewellery wire to hold it steady. (confusing!!!!)
A6 Card. Take front panel and fold it in half back on itself to meet the spine of the card. Now just decorate. I used a Tulip topper from a previous demo to be the main accent to the card.
A6 Card with simple tags and flowers.Just round off the corners.
A6 Card: The flower is the main part of this card. Just dressed up with some paper piercing.
With this A6 card I scored from corner to corner - left to right and then right to left at an angle with even spacing to create the crossed design on the front of this A6 card and then just dressed it up with flowers and a greeting.
Take your A6 card and follow the instructions on the Docrafts Tutorial here - Handbag Card Tutoral
Well hopefully you like the projects above and they will give you a little bit of inspiration on how to jazz up your A6 cards in future.
Happy Crafting everyone.


OMG cliona, those cards are amazing.. I'm gonna be trying out some of them soon... Well done hun xxxx
ReplyDeleteGreat ideas Cliona, I,m def going to try some of these as I do get fedup of doing same old same old. xxxxx
ReplyDelete